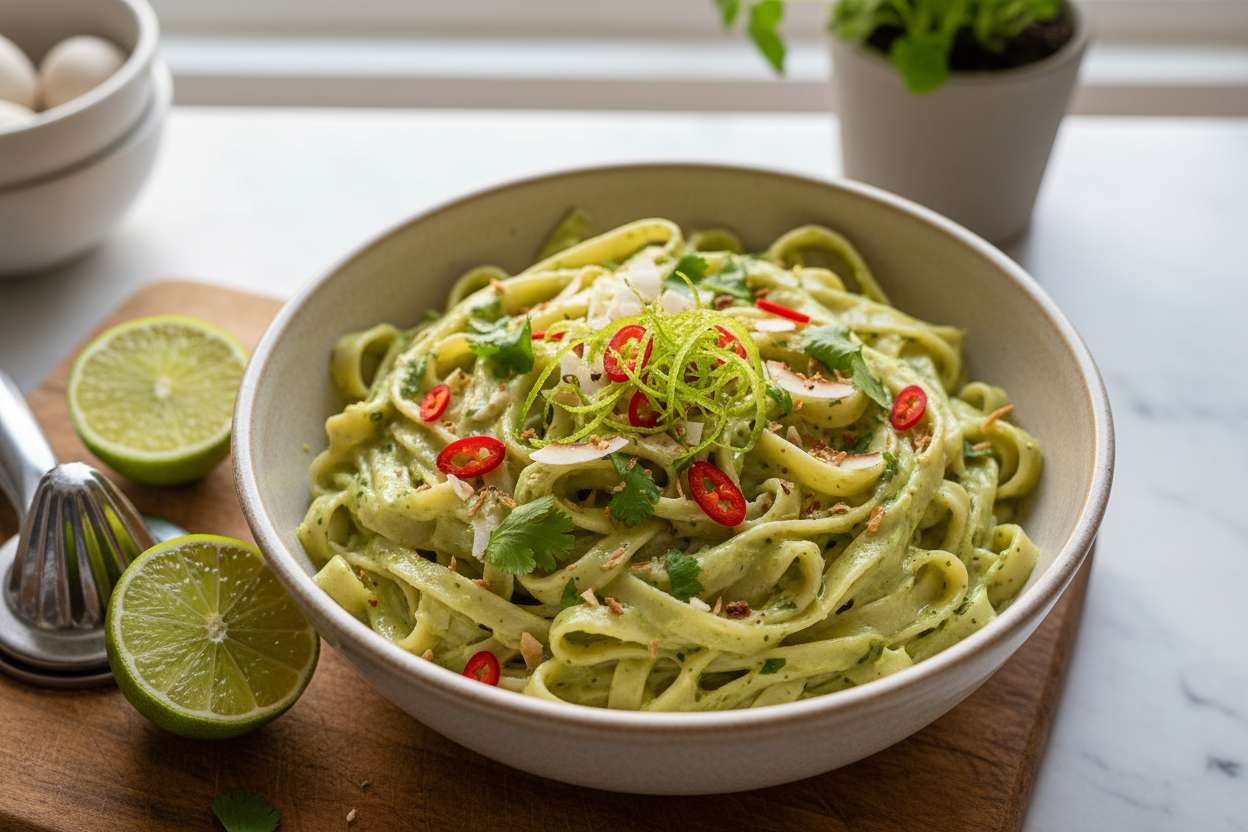
The 15-Minute Tropical Breakthrough: One-Pot Creamy Vegan Coconut Lime Noodles
15-Minute Air Fryer Crispy Sesame Green Beans
The 20-Minute “Shatter-Crisp” Breakthrough: Air Fryer Lemon Herb Potato Wedges
The 15-Minute Protein Crunch: Air Fryer Crispy Chickpeas
Latest Recipes
The 15-Minute Tropical Breakthrough: One-Pot Creamy Vegan Coconut Lime Noodles
15-Minute Air Fryer Crispy Sesame Green Beans
The 20-Minute “Shatter-Crisp” Breakthrough: Air Fryer Lemon Herb Potato Wedges
The 15-Minute Protein Crunch: Air Fryer Crispy Chickpeas
Currently cooking
Here are the most popular recipes.
Editor’s choice
A selection of my favorite recipes
15-Minute Air Fryer Crispy Sesame Green Beans
Asian-Inspired
4

The 20-Minute “Shatter-Crisp” Breakthrough: Air Fryer Lemon Herb Potato Wedges
Gluten-Free Vegan
4

The 15-Minute Protein Crunch: Air Fryer Crispy Chickpeas
Air Fryer Recipes
4

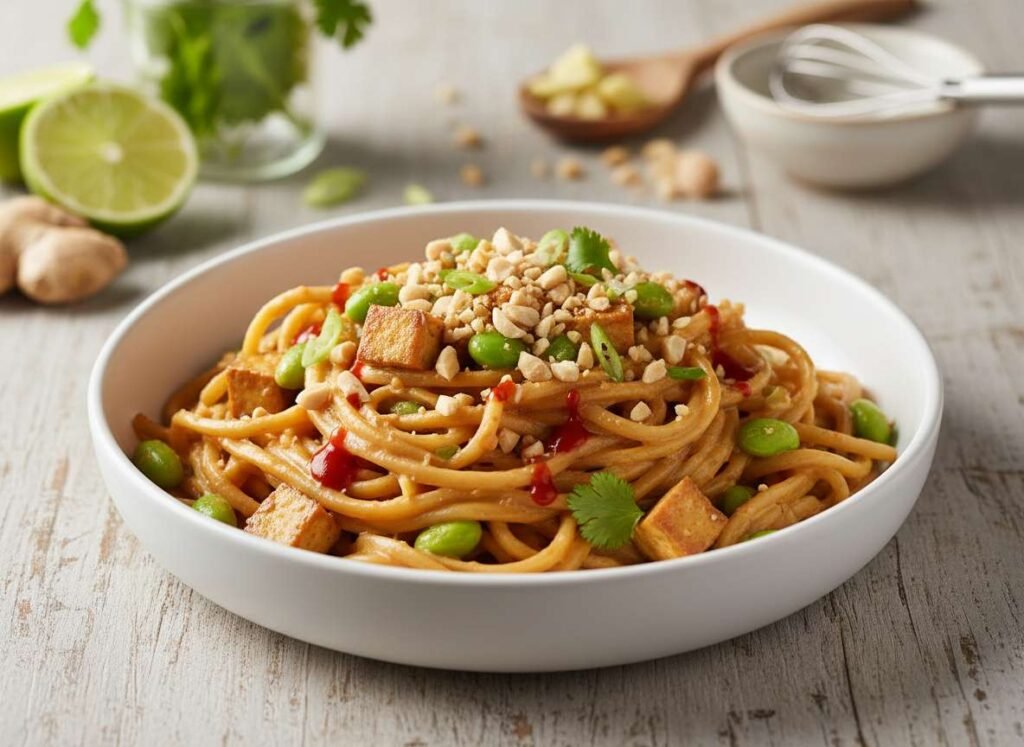
The 15-Minute Comfort Hack: One-Pot Creamy Vegan Peanut Noodles
Quick Vegan Lunches
4
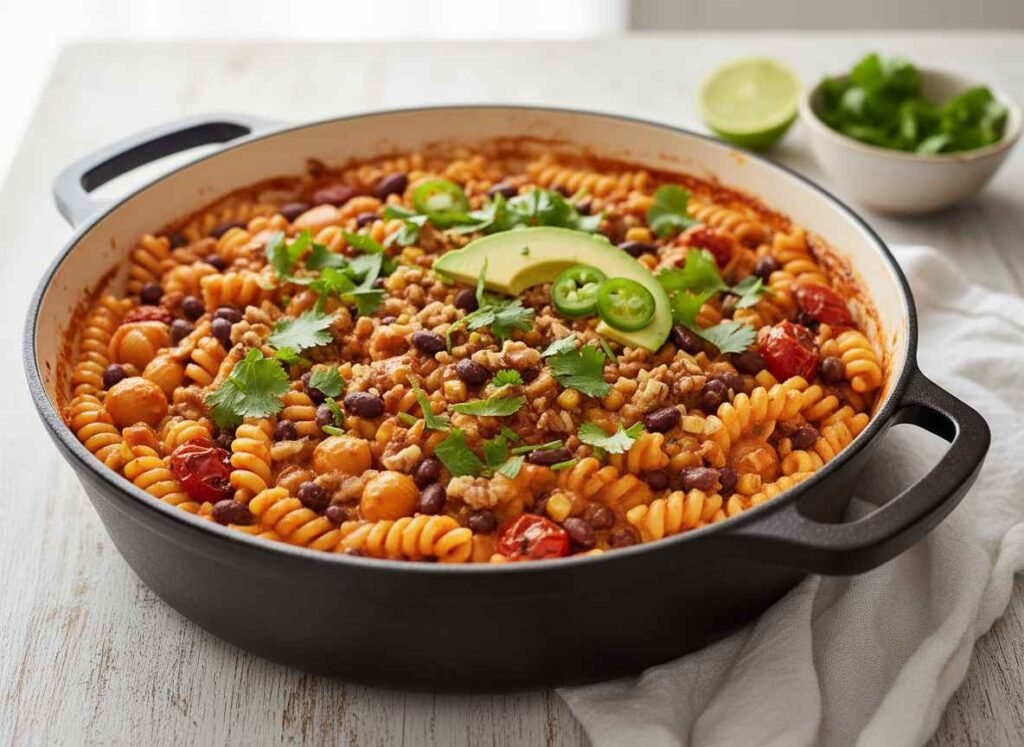
20-Minute One-Pot Vegan Taco Pasta (Creamy & High-Protein)
One-Pot Wonders
Time: 20 Minutes | Yield: 4 Servings In the modern culinary landscape, the most successful dishes are often those that bridge the gap between two beloved traditions. Taco night offers a zesty, high-protein punch, while pasta night provides the comforting, carb-dense fuel needed for a demanding lifestyle. Traditionally, combining these would involve multiple pots: one for the pasta, one for the “taco meat,” and another for the sauce. For the high-performance individual, this complexity is a barrier to efficient, healthy eating. The One-Pot Vegan Taco Pasta is a strategic breakthrough. By utilizing the “infusion-simmer” method, we cook the pasta directly … Read more